
Today I am sharing a tutorial for a subtle high low drop waist sundress I made for my daughter for part of the 30 Days of Sundresses series hosted by Melly Sews. This is a super simple dress made for woven fabrics. I used a lightweight peach skin fabric from Girl Charlee. It was the perfect fabric for this project.
To make this dress all you need is:
- a tank top or sleeveless bodice pattern
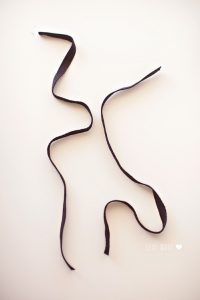
- some ribbon
- and your regular sewing supplies.
Let’s get started!
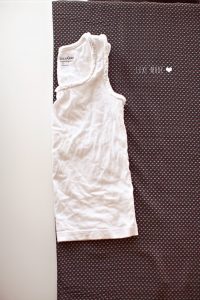
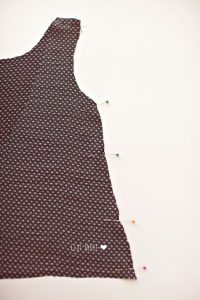
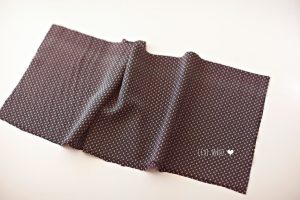
- Take your tank top and place it over your fabric on the fold. Use the ready-made tank top as your guide to cut out a front and back piece. I made mine extend out at the bottom so it is more of an A-line. I also curved the front waistline to make the dress have the high low shape.
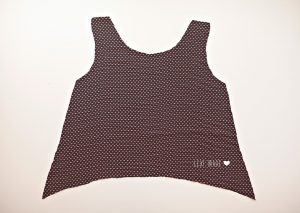
- This is what your front piece should look like.
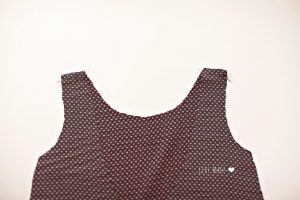
- For the back piece cut a deep neckline like above. You also want to cut straight across at the waistline.
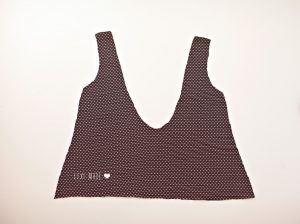
- Place your front and back pieces right sides together and sew at the shoulders. Finish seams.
- Next, you want to keep the front and back pieces right sides together and sew the side seams. Finish seams.
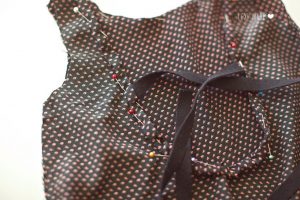
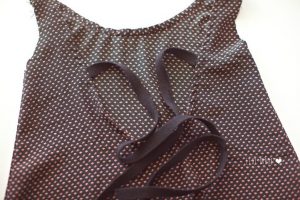
- Measure your neckline all the way around and cut a 2″ wide strip of fabric 1″ longer than your neckline measurement. Grab your ribbon and pin it in between your back piece and the 2″ strip of fabric you just cut. Your fabric should be right sides together. You should have something that looks like the photo above. Once you are done pinning stitch all the way around and overlap the two end pieces so one is on top of the other. You will want to fold under the bottom end that touches the bodice so there is a nice edge when you finish. Clip at the curve.
- Now you want to turn your dress inside out and fold the 2″ fabric strip under twice and pin in place.
- You know want to stitch all the way around the neckline. The right side of your dress should look like the photo above.
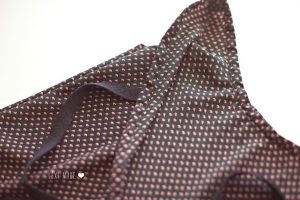
- The inside of your dress should look like the photo above. Repeat this same process for both armholes minus the ribbon step.
- Now you want to cut out a skirt piece. You will want to cut out two pieces of fabric 1.5 times the with of your bodice. The length is up to you. Just make sure you remember to add seam allowance to your measurement. Sew the side seams and finish your seams.
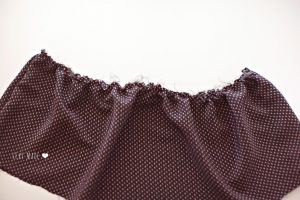
- Gather your skirt pieces by lengthening your straight stitch as long as it goes and pulling your bobbin threads until you have even gathered all the way around and it equals the width of the bodice.
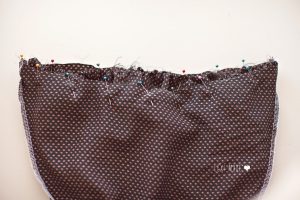
- Pin the skirt and the bodice together at the waist with right sides facing each other. Sew in place and finish seams. At the last minute, I decided to add a second skirt layer which the picture above does not show. If you would like a sec on the layer just simple to follow the skirt steps again with your second fabric just like the first layer and sew together at this step.
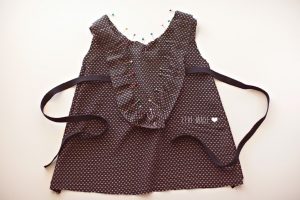
You now have a finished dress!


Be sure to check out the awesome giveaway over at Melly Sews and check out all of the amazing sundress tutorials other bloggers have shared so far. Trust me, you don’t want to miss them! Click HERE to check them out!